Thursday, June 14, 2012

{Fabulous Frames}

This is one of two that I did for a friend.  I am about to add her daughter's names to the frames, but I haven't gotten around to that yet.

This is actually just a white frame--for some reason I edited it and it looked great on my phone, but not so great when you look at it larger. 


Ok, I am In love with these frames I got from  Oh my crafts for only $13!  I painted them with basic acrylic paint then took my sander around the edges.  What a super cheap gift!  {Bonus}  if you spend over $30 you usually get 20% off your order which makes them really a good deal especially if you are doing them to sell like me.  
These are really heavy, thick wood.  Holds a 4x6 picture. 


The water bottle is there so you can see the sizing of the frame.


Wednesday, June 13, 2012

{ Loving Life}


So this is my conversation with my 4 year old today:
Me: Addison are you watching your brother on the patio?
Addison: Yes--oh wait, he just picked up a really big walnut.
Me: Did you take it from him?
Addison: Yes, I knocked it out of his hand. You have got to come see this mom it is huge! It is the biggest walnut I've ever seen.
Me: (after walking over to them) Addison--that is not a walnut--that is dog poop.
Addison: Well, that is just nasty.
{A simple moment in my life}
Sadly enough these are the moments that you just want to grab ahold of and remember--not that I want to remember cleaning the poop off his hands or anything, but still.

Monday, June 11, 2012

{Admit One}

Ok, this is just fabulous!  What better idea since I have officially given up scrapbooking then to make a ticket holder!  This way I can add tickets through the top of the frame and then pull them out if I ever did do anything with them (which I probably won't, but still, what a get conversation piece!)


This is the frame that I bought.  Make sure to buy a "top loading" frame so you can pull the top off to put tickets in without having to take it off the wall.
I initially did the ticket stub in black, only to find that you couldn't really see the stub, so I reprinted and did it in red so you could see it.
I haven't found a place on my wall yet to hang it so right now it is stationed above my sink, which I actually like because I think it will remind me to add the tickets as we do stuff.
Just {fabulous}

Saturday, June 9, 2012

{More Wooden Blocks}

Adorable baby set of blocks

Wedding present for a friend

And another wedding present

One of my favorites--the grandmother set for Mother's Day

Family set
I keep making more and more wooden block sets for people and I have to say I love making them--especially since we finally bought a saw and my husband can cut the blocks without me having to wait in line at the Home Depot!

{Chalkboard Station}


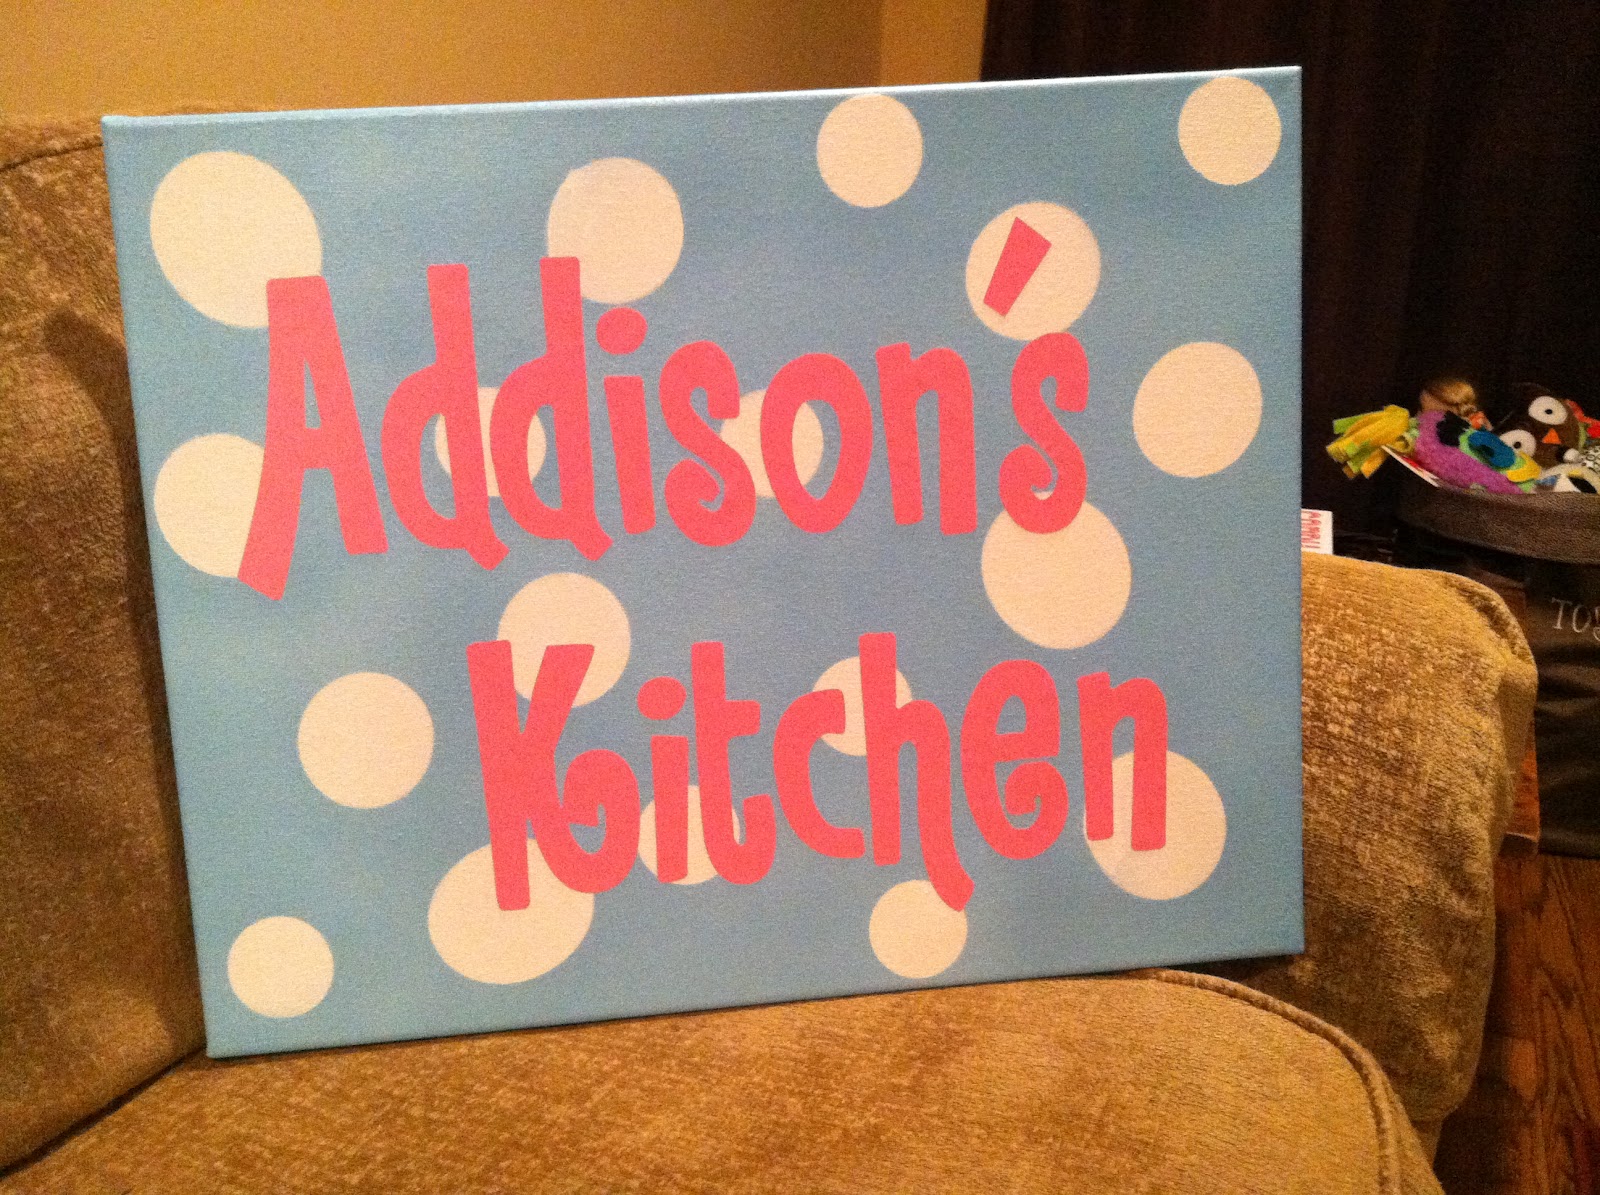
This all started with me picking up a random chalkboard at Hobby Lobby.  Ten minutes after I got home I had the thing painted and within an hour I had it sanded.  Then I walked around wondering what to do with it.  Then I had an idea--which then lead me back to Hobby Lobby for another board (and they didn't have another large one so I got a smaller one, which ended up working out much better!)
I'm into a "flying" phase--


Madly in {love} with this. 

I found a unpainted frame in my craft drawer, painted it, distressed it, then took the back off and hot glued metal sheets to the back!   Instant message board!

Maybe, maybe one day I will let the kids draw on it, but for now I just want to look at it and smile!
So after one day I finally let my little man take a test drive on the board after I scored it really well with the chalk.  Turns out this board is the perfect height and size to draw and create on!

Wednesday, February 22, 2012

{Burlap Wreath Tutorial}


After sorting through old photos I found these and I was super pumped!  I had totally forgotten that I had taken pictures while making my wreath!  Lots have asked for the steps so here they are!
The finished product!


Cutting your circles--this is the most time consuming of course because burlap is no fun to cut!  Cut out tons--probably like 30 of 2 different sizes.  I didn't use a template, I just started cutting.  But if I had to guess I would say like 2 inch circles and 2 1/2 inch circles would be correct.  After cutting go ahead and grab a hand full and glue them together layering the smaller on top of the larger.  These will be your plain circles to fill in with at the end.

Fabric.  I literally just cut some out here.  I chose fun bright colors and none of them made much sense.  I just worked with what was in my material tub.  I think not matching them made the wreath look more "fun".

Ribbon-I also chose different ribbon that I had--again, nothing matched it was totally random.  I just cut tons of little strips--probably 1 inch long.

I added these embellishments--I can't remember what they are called (my mind is blank) but they are little metal circles that you have to use your alligator punch (in the picture above this, it is pink) and punch through 2 circles to make them stick together.
Get out that hot glue gun and start randomly gluing.  I did make sure to space out between the ones that had ribbon and the ones that had material.  I put all my colored circles (ones with ribbon and material) on first and then went back and filled in with the plain circles.
Layered

And you are done!


Tuesday, February 14, 2012

{Lots of Canvases}

I decided to compile the canvases that I have done into one post in case anyone is looking for ideas and doesn't want to click around a ton of times to see different ones.
Made this one for a precious little girl!
Made this for my daughter's kitchen.  I cut out vinyl polka dots and put them on the white canvas then spray painted it blue.  Peeled off the vinyl after it dried and {hello} I had perfect dots!  Then I cut what I wanted to say--Mod Podged it on there and topped it off with a layer of spray sealant.  Fab!
Smaller canvas I sat above my sink during Thanksgiving. 
This took some time {but the Bride-to-be loved it so it was worth it}  I hand painted the canvas black then created stencils for all the words and then laid them out on the canvas how I wanted them to be placed.  Remember to tape them down because they will move on you though.  Took some white paint and filled the stencils in.  Not a quick project, but what a gift!
Baby boy
Another baby boy canvas for a nursery
Yet another boy canvas for a nursery!

{burlap banner}


 I {LOVE} burlap.  These are some pics of some banners I made for a photographer to use.  For the tutorial on how I made them check out my creating a burlap banner post.


{St. Patrick's Day}

Give me a little green!  St. Patrick's Day is just fun.  It is the only holiday where green dominates.  I have never decorated for the holiday in the past, but I am hoping to at least have a few of these up in my house to celebrate the festive holiday!
Click here for this one {which I love}
There are several color choices on this one.  Click here to get them!
{super cute} click here for this one.